

Bath Bench Services: Your Complete Guide to Installation, Repair, and Maintenance
2026-08-16
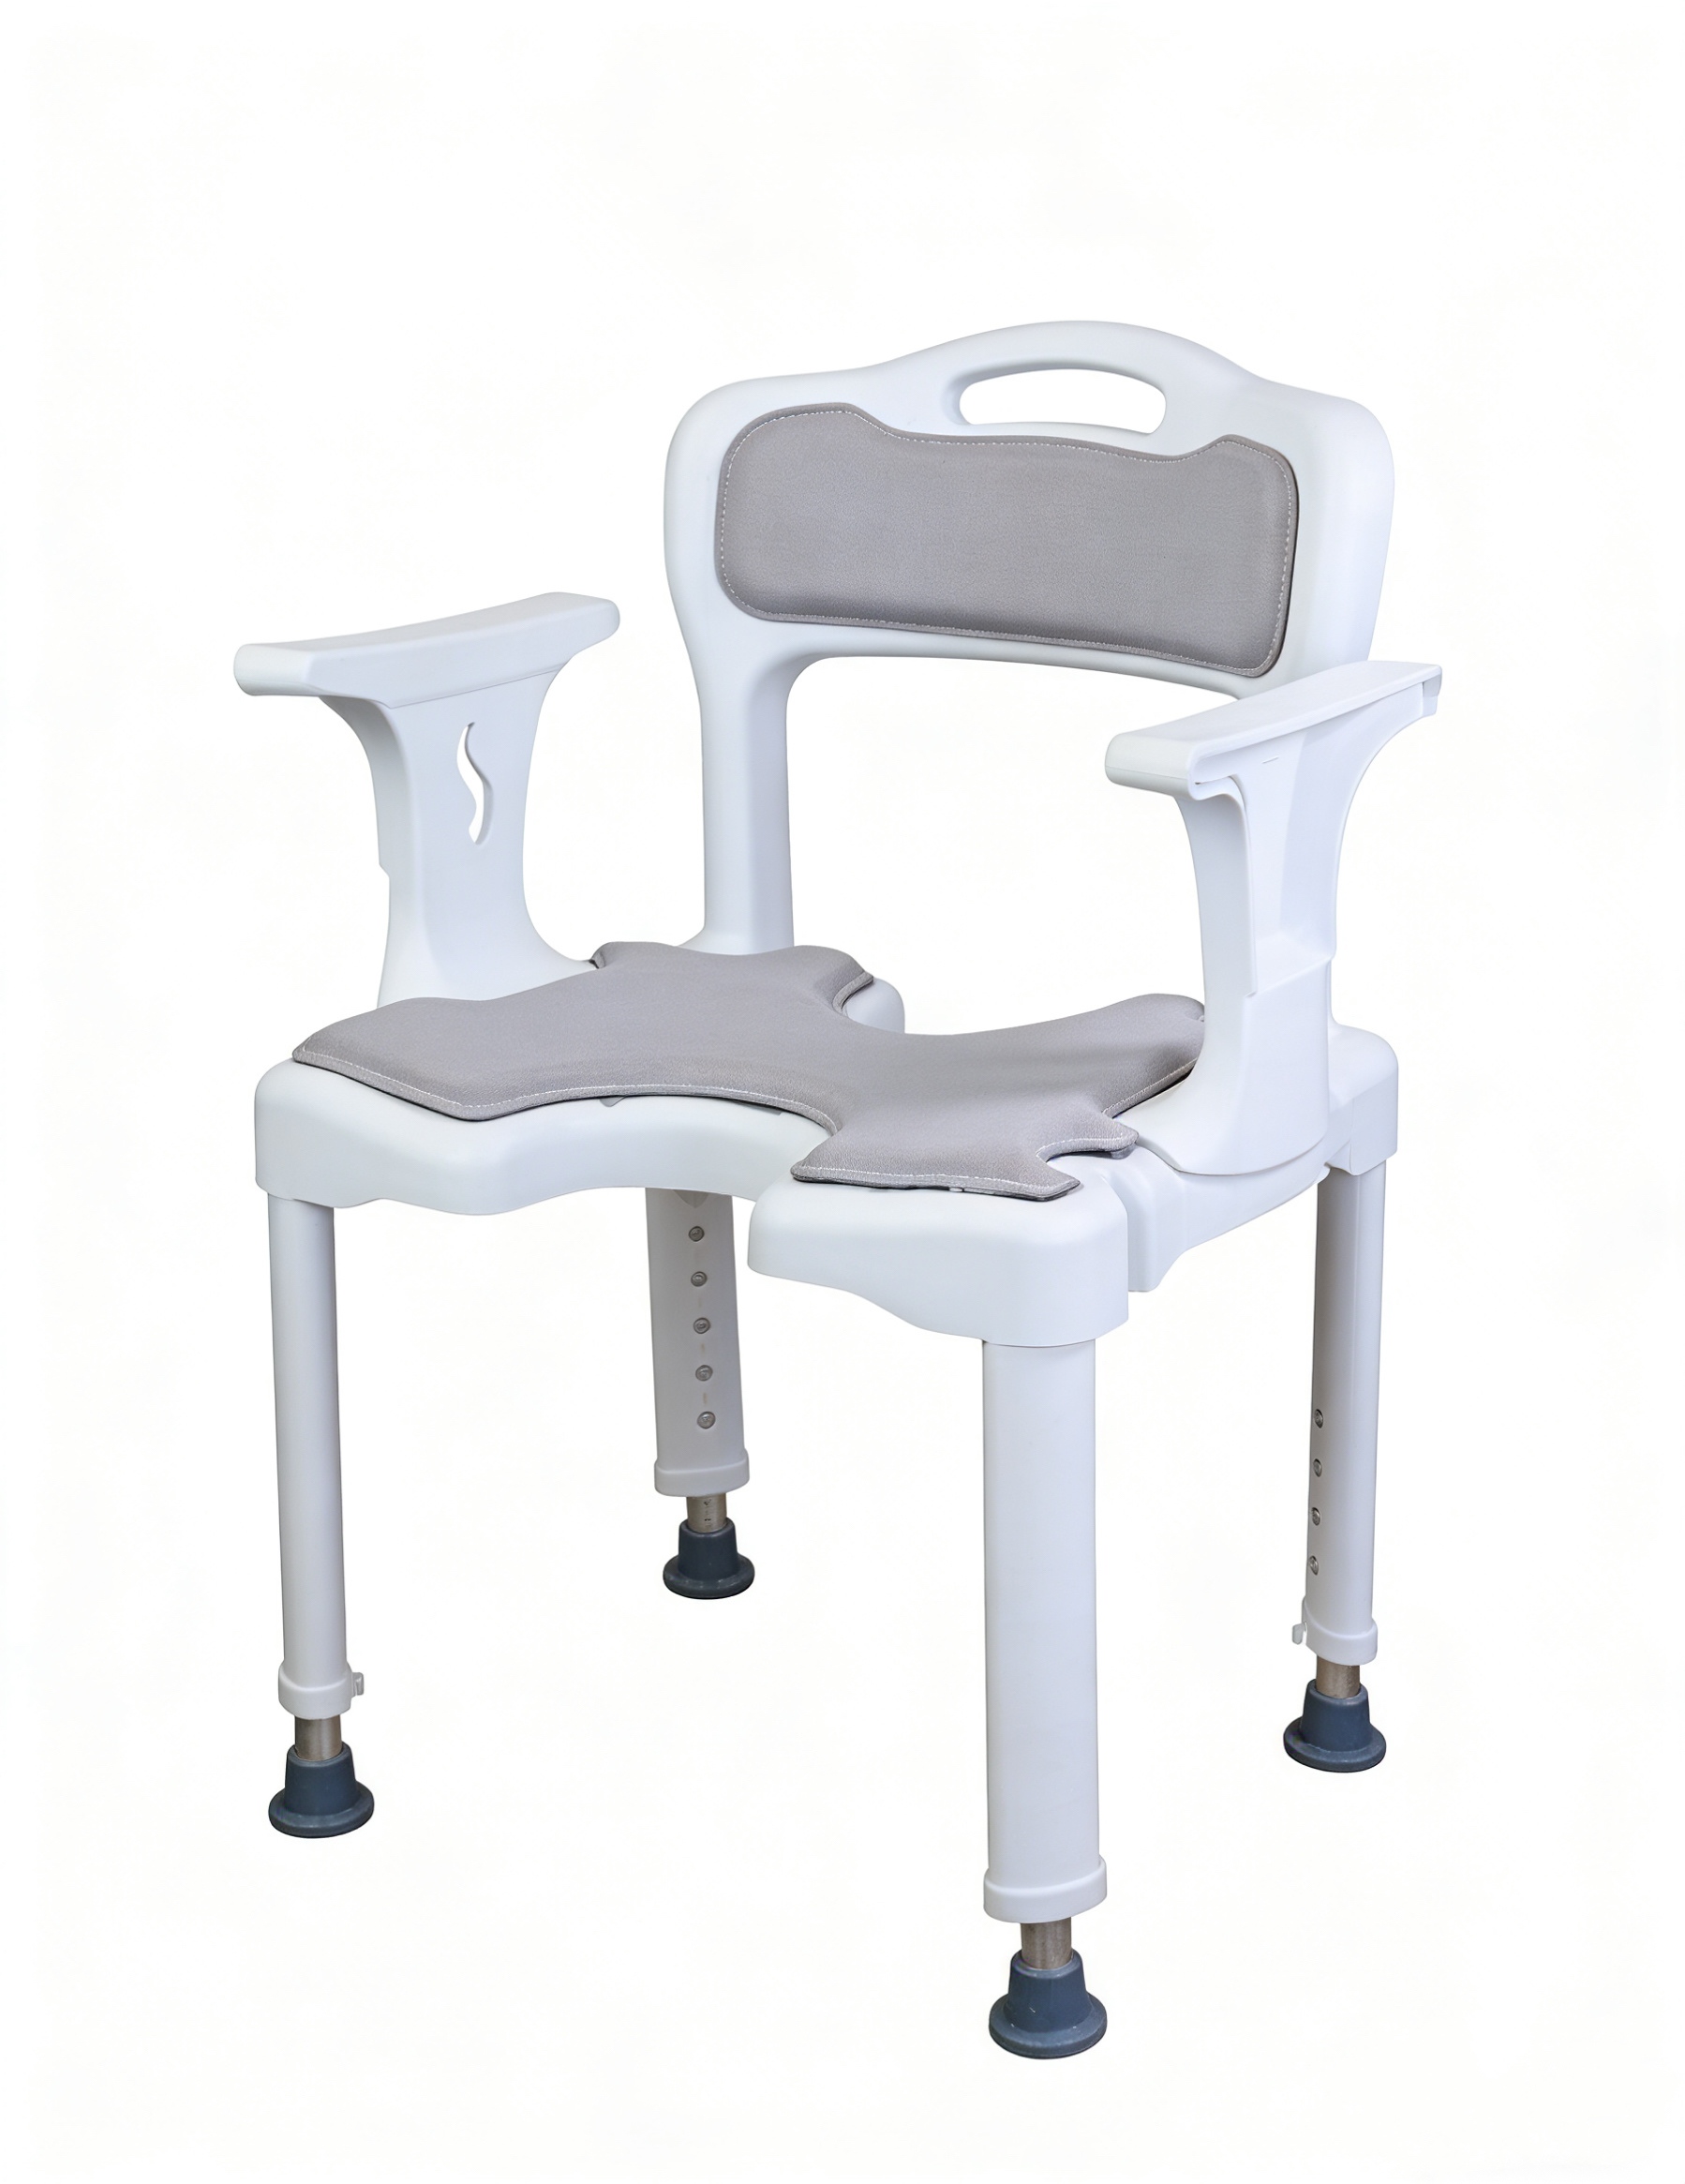
Most bath bench problems start small: a squeaky joint, a rusted screw, a leg that doesn’t sit flat. Ignore them and you’re one slip away from a real fall. That’s why knowing how to install, repair, and maintain your bench matters more than you think. Below, we skip the fluff and get straight to what works—from choosing the right spot to extending the life of your equipment. And when it’s time to upgrade, brands like Suncare make durability a given.
Choosing a Spot That Won't Crack Tile or Shift Under Weight
Before you set anything heavy down, take a close look at the tile itself. Tap gently with a knuckle—solid, high-pitched sounds mean the tile is fully supported underneath, while a hollow thud signals voids that can crack under load. Run your hand over the surface to feel for any lippage or uneven edges; if tiles aren’t perfectly level with each other, concentrated weight on a raised corner can snap it off clean. And don’t skip the grout lines: cracking or crumbling grout is a telltale sign the subfloor might already be flexing, which means any weight you add will only make it worse.
Next, think about the floor’s structure, not just the surface. Most residential tile jobs are rated for uniform pressure—like furniture with broad, flat feet—not point loads from narrow metal legs or casters. If you need to place something heavy, spread the load by using wide rubber pads or a piece of plywood cut slightly larger than the item’s footprint. This distributes the force over more tiles and prevents that one unlucky spot from taking all the punishment. Also, avoid the perimeter of the room: tiles near walls often sit over expansion gaps or thinner mortar beds, making them far more brittle than the field in the center.
Finally, watch out for hidden weakness below. If you have access to the subfloor from beneath (like an unfinished basement), shine a flashlight across the joists and look for any sagging or water stains. Even a tiny deflection—say, 1/16 of an inch over a 3-foot span—can translate into cracked tiles or popped grout once weight goes on top. When in doubt, shift the load toward an area directly above a beam or load-bearing wall, where the floor is stiffest. A little planning now beats chiseling out broken tile later.
Hardware Checks Most Installers Skip Until It's Too Late
The flatness of a mounting surface gets a quick glance, not a straightedge. A bracket can feel tight at one corner while a 0.015-inch gap sits under the opposite foot. That gap becomes a fatigue crack once vibration starts. Run a machinist's straightedge across both mounting pads, then slip a feeler gauge into any low spots. If the gap exceeds what the install manual allows, shim it before torquing the bolts. Otherwise the case, heat exchanger, or pump housing carries a bending load it was never designed for.
Fastener torque is another casualty of rushing. Stainless bolts gall against stainless nuts without anti-seize, and zinc-plated hardware gets over-torqued because a beam wrench was left in the truck. The result is either a snapped stud inside a blind hole or a joint that loosens under thermal cycling. Mark each fastener after final torque, then come back after the first heat-soak and check for witness line movement. Also inspect the back side of grounding lugs for paint, powder coat, or anodizing—resistance from a hidden oxide layer causes intermittent faults that mimic sensor failures.
The final check most crews skip is a deliberate shakedown of every harness branch. Pull gently on each connector body, not the wire, and listen for a click. Flex the loom near bulkhead pass-throughs while watching for chafing against threaded studs or hose clamps. If a wire can touch a hot surface after the engine torques over, it will. Leave a finger-width of clearance or add a standoff. Two minutes of tugging and flexing catches the loose terminal, the missed grommet, and the backward weather seal before they strand the unit in the field.
Step-by-Step Mounting for Benches That Stay Put
Before reaching for a drill, flip the bench upside down and take a hard look at the leg bases. Some have pre-punched mounting plates, others need corner brackets added. Set the bench exactly where you want it, then use painter's tape to mark the hole positions on the ground. Walk away for a minute, come back, and check that the bench doesn't crowd a walkway or block a hose reel. This is also the moment to spot any buried irrigation lines or conduit that could ruin your afternoon.
Match the anchor to the surface underfoot instead of using one screw type for everything. On a concrete patio, a hammer drill with a 10 mm masonry bit and sleeve anchors will keep the bench from creeping. For a wooden deck, skip the plastic plugs and drive coated deck screws into the joists, not just the top boards. If you're working on tile, start with a tile bit to get through the glaze, then switch to hammer mode only after the bit reaches the slab. Drill each hole about 5 mm deeper than the anchor length and clear the dust before tapping the anchor in.
Don't cinch any bolt down all the way on the first pass. Leave each one a couple of turns loose so the bench can settle evenly across all four legs, then tighten them in a crossing pattern until they just bite. Give the bench a firm shove from the side and sit heavily on each end. If you feel a slight rock or hear a tick, back off the nearest bolt, let the leg reseat, and retighten by hand first. That last five minutes of checking is what keeps the bench still when someone flops onto it after a long day.
Common Failures: Rust, Loose Brackets, and Wobbly Legs
Nothing announces neglect faster than a streak of orange-brown rust creeping across a metal frame. It starts small, maybe a paint chip left bare after a move, then spreads until the once-smooth surface feels rough and flaky under your fingers. If you catch it early, a wire brush and a rust converter can stop the decay, but once the metal starts thinning, you are looking at a structural problem, not a cosmetic one.
Loose brackets are the silent saboteurs of stability. You might not notice the slight shift when you lean against a shelf or rest your weight on a chair arm, but over time that play wears the screw holes wider and lets the joint wiggle out of true. A quick tightening with a socket wrench usually fixes it, unless the threads are already stripped, in which case a longer screw or a wood filler and redrill is your only route back to firmness.
Wobbly legs turn a perfectly good piece of furniture into something that feels like it might fold under pressure. The culprit is often uneven floor contact, a worn foot pad, or one leg that has absorbed more moisture than the others. Grab a level, check each corner, and adjust the feet or add a thin shim until all four sit flat. If the wobble comes from a loose joint where the leg meets the frame, take it apart, clean out old glue, and reclamp with fresh adhesive before putting any weight back on it.
Repair or Replace? Reading the Signs Before You Spend
The first sign often hides in your utility bills. An aging appliance or system might still limp along, but if it's drawing far more power than a modern equivalent, those monthly costs stack up faster than you'd think. Give the nameplate a look, check the manufacture date, and compare typical energy use for that category. If it's near or past the typical lifespan—say, ten years for a washer or fifteen for a furnace—the math begins to tilt.
Then pay attention to how often you're reaching for the toolbox. A single repair on an otherwise reliable machine is usually worth it, especially if the part is cheap and the fix is straightforward. Three breakdowns in six months? That's not bad luck; that's a pattern. A rough rule is to get an estimate first. If the repair bill lands above half the cost of a new unit, and the machine is already into the second half of its expected life, replacement often makes more sense than pouring money into a fading asset.
A Simple Cleaning Routine That Extends the Bench's Life
Most people treat a workbench like a piece of furniture that never needs more than a quick wipe-down. But sweat, sawdust, and the occasional spilled solvent settle into the grain and joints, slowly eating away at the surface. Instead of deep cleaning once a season, try a five-minute routine at the end of each session: brush off loose debris with a stiff-bristle hand brush, then wipe the top with a rag dampened in warm water and a few drops of mild dish soap. Skip the harsh degreasers—they strip the natural oils from wood and leave it prone to cracking. If you work with metal, follow up with a dry cloth to prevent flash rust on any exposed fasteners.
One habit that adds years to a bench is dealing with glue and finish drips before they harden. A plastic putty knife works better than a metal scraper because it won't gouge the surface. For stubborn residue, lay a damp cloth over the spot for ten minutes, then gently lift it away. Avoid sanding the top unless absolutely necessary—each pass removes a thin layer of material and can create low spots that trap moisture. Once a month, apply a light coat of paste wax or boiled linseed oil to the bare wood. This not only makes future cleanup easier but also prevents the wood from drying out and splitting along the dog holes or vise jaws.
Storage habits matter just as much as the cleaning itself. Never leave wet rags or solvent-soaked paper towels lying on the bench overnight; they can leach chemicals into the wood or leave permanent rings. If you use the bench for finishing, put down a sheet of rosin paper or an old cotton drop cloth first. And when you're done for the day, clear the surface completely—don't let tools pile up. A bench that breathes stays flat longer, because weight concentrated in one spot over time can cause a subtle sag. This routine takes less time than a coffee break, but it keeps your bench feeling solid and true for decades.
FAQ
If you're comfortable with basic tools and can follow a clear manual, a freestanding bench often takes less than thirty minutes to assemble. Wall-mounted models are more involved because they need proper anchoring into studs or solid backing; in that case, a professional is worth the call to avoid damaging tiles or ending up with a wobbly seat.
Watch for creaking sounds, visible rust on metal joints, cracked plastic or wood, and any movement when you shift your weight. Suction-cup feet that no longer grip the tub floor are another red flag, since that directly affects stability.
A light sanding once or twice a year removes the rough surface layer, then you can apply a teak-specific oil to keep the wood nourished. Avoid leaving the bench in standing water for long periods, and let it air-dry between uses instead of storing it in a damp corner.
Yes, anchoring into studs or a solid blocking behind the wall is the safest approach. Hollow-wall anchors may hold briefly, but they tend to loosen with repeated weight shifts and moisture exposure, which can lead to the bench pulling away from the wall.
Once a week, detach the bench and rinse the feet and tub surface with warm water, then wipe both dry before reattaching. Every month, check the suction cups for hardening or tears, and replace them if they have lost their flexibility, because worn cups are the main reason benches start sliding.
Light surface rust on aluminum or stainless steel can usually be scrubbed off with a non-abrasive pad and a mix of baking soda and water, then protected with a metal-safe polish. If the rust has eaten into joints or screw threads, replacement parts or a new bench are safer choices, since structural integrity is already compromised.
Prioritize materials that resist moisture: teak, marine-grade aluminum, or high-quality molded plastic with few crevices. A bench with removable, replaceable feet and minimal hardware tends to age better. Also consider whether you can easily reach all surfaces for cleaning, because built-up soap scum in hidden gaps accelerates wear.
Set the seat height so your feet rest flat on the tub or shower floor with your knees bent at about a ninety-degree angle. If the bench has adjustable legs, mark your preferred setting with a waterproof marker or tape after testing it a few times, and double-check that each leg is locked into the same height to prevent uneven rocking.
Conclusion
Getting a bath bench to hold steady starts long before the first screw goes in. The spot you pick matters more than most people realize: tile over drywall without solid backing will crack under load, and a bench that shifts even slightly can loosen its own anchors over time. Look for a location where you can hit wall studs or install blocking behind the tile, and test the area by pressing firmly to feel for flex. Hardware is the part most installers overlook until something fails. Stainless steel or coated brass screws, brackets rated for at least twice the expected weight, and rubber washers between metal and tile all make a measurable difference. Mounting should follow a simple sequence: mark the bracket holes through the bench’s template, drill into the stud or blocking with a bit slightly smaller than the screw core, set the bracket loosely, level it, then tighten evenly so the load spreads across every contact point. Skip any step and you invite a slow wobble that gets worse with every use.
Once a bench is in place, the problems that show up are rarely sudden. Rust starts where cheap plating meets shower moisture, loose brackets follow repeated loading, and wobbly legs often mean a floor pad has compressed or a set screw has backed off. Before spending money, read the signs: surface rust can be cleaned and sealed, but deep pitting or cracks near weld joints mean replacement is the safer choice. If the bench moves more than a quarter inch under hand pressure, tighten every fastener first, then check the wall anchors themselves. A regular routine keeps small issues from becoming big ones—wipe the bench down after each use with a mild, non-abrasive cleaner, dry the metal parts with a soft cloth, and every month give the hardware a quick visual check. That simple habit, more than any repair, is what keeps a bath bench reliable for years.
Contact Us
Contact Person: Frank Chan
Email: [email protected]
Tel/WhatsApp: 0086-13924529088
Website: https://www.suncare-medical.com